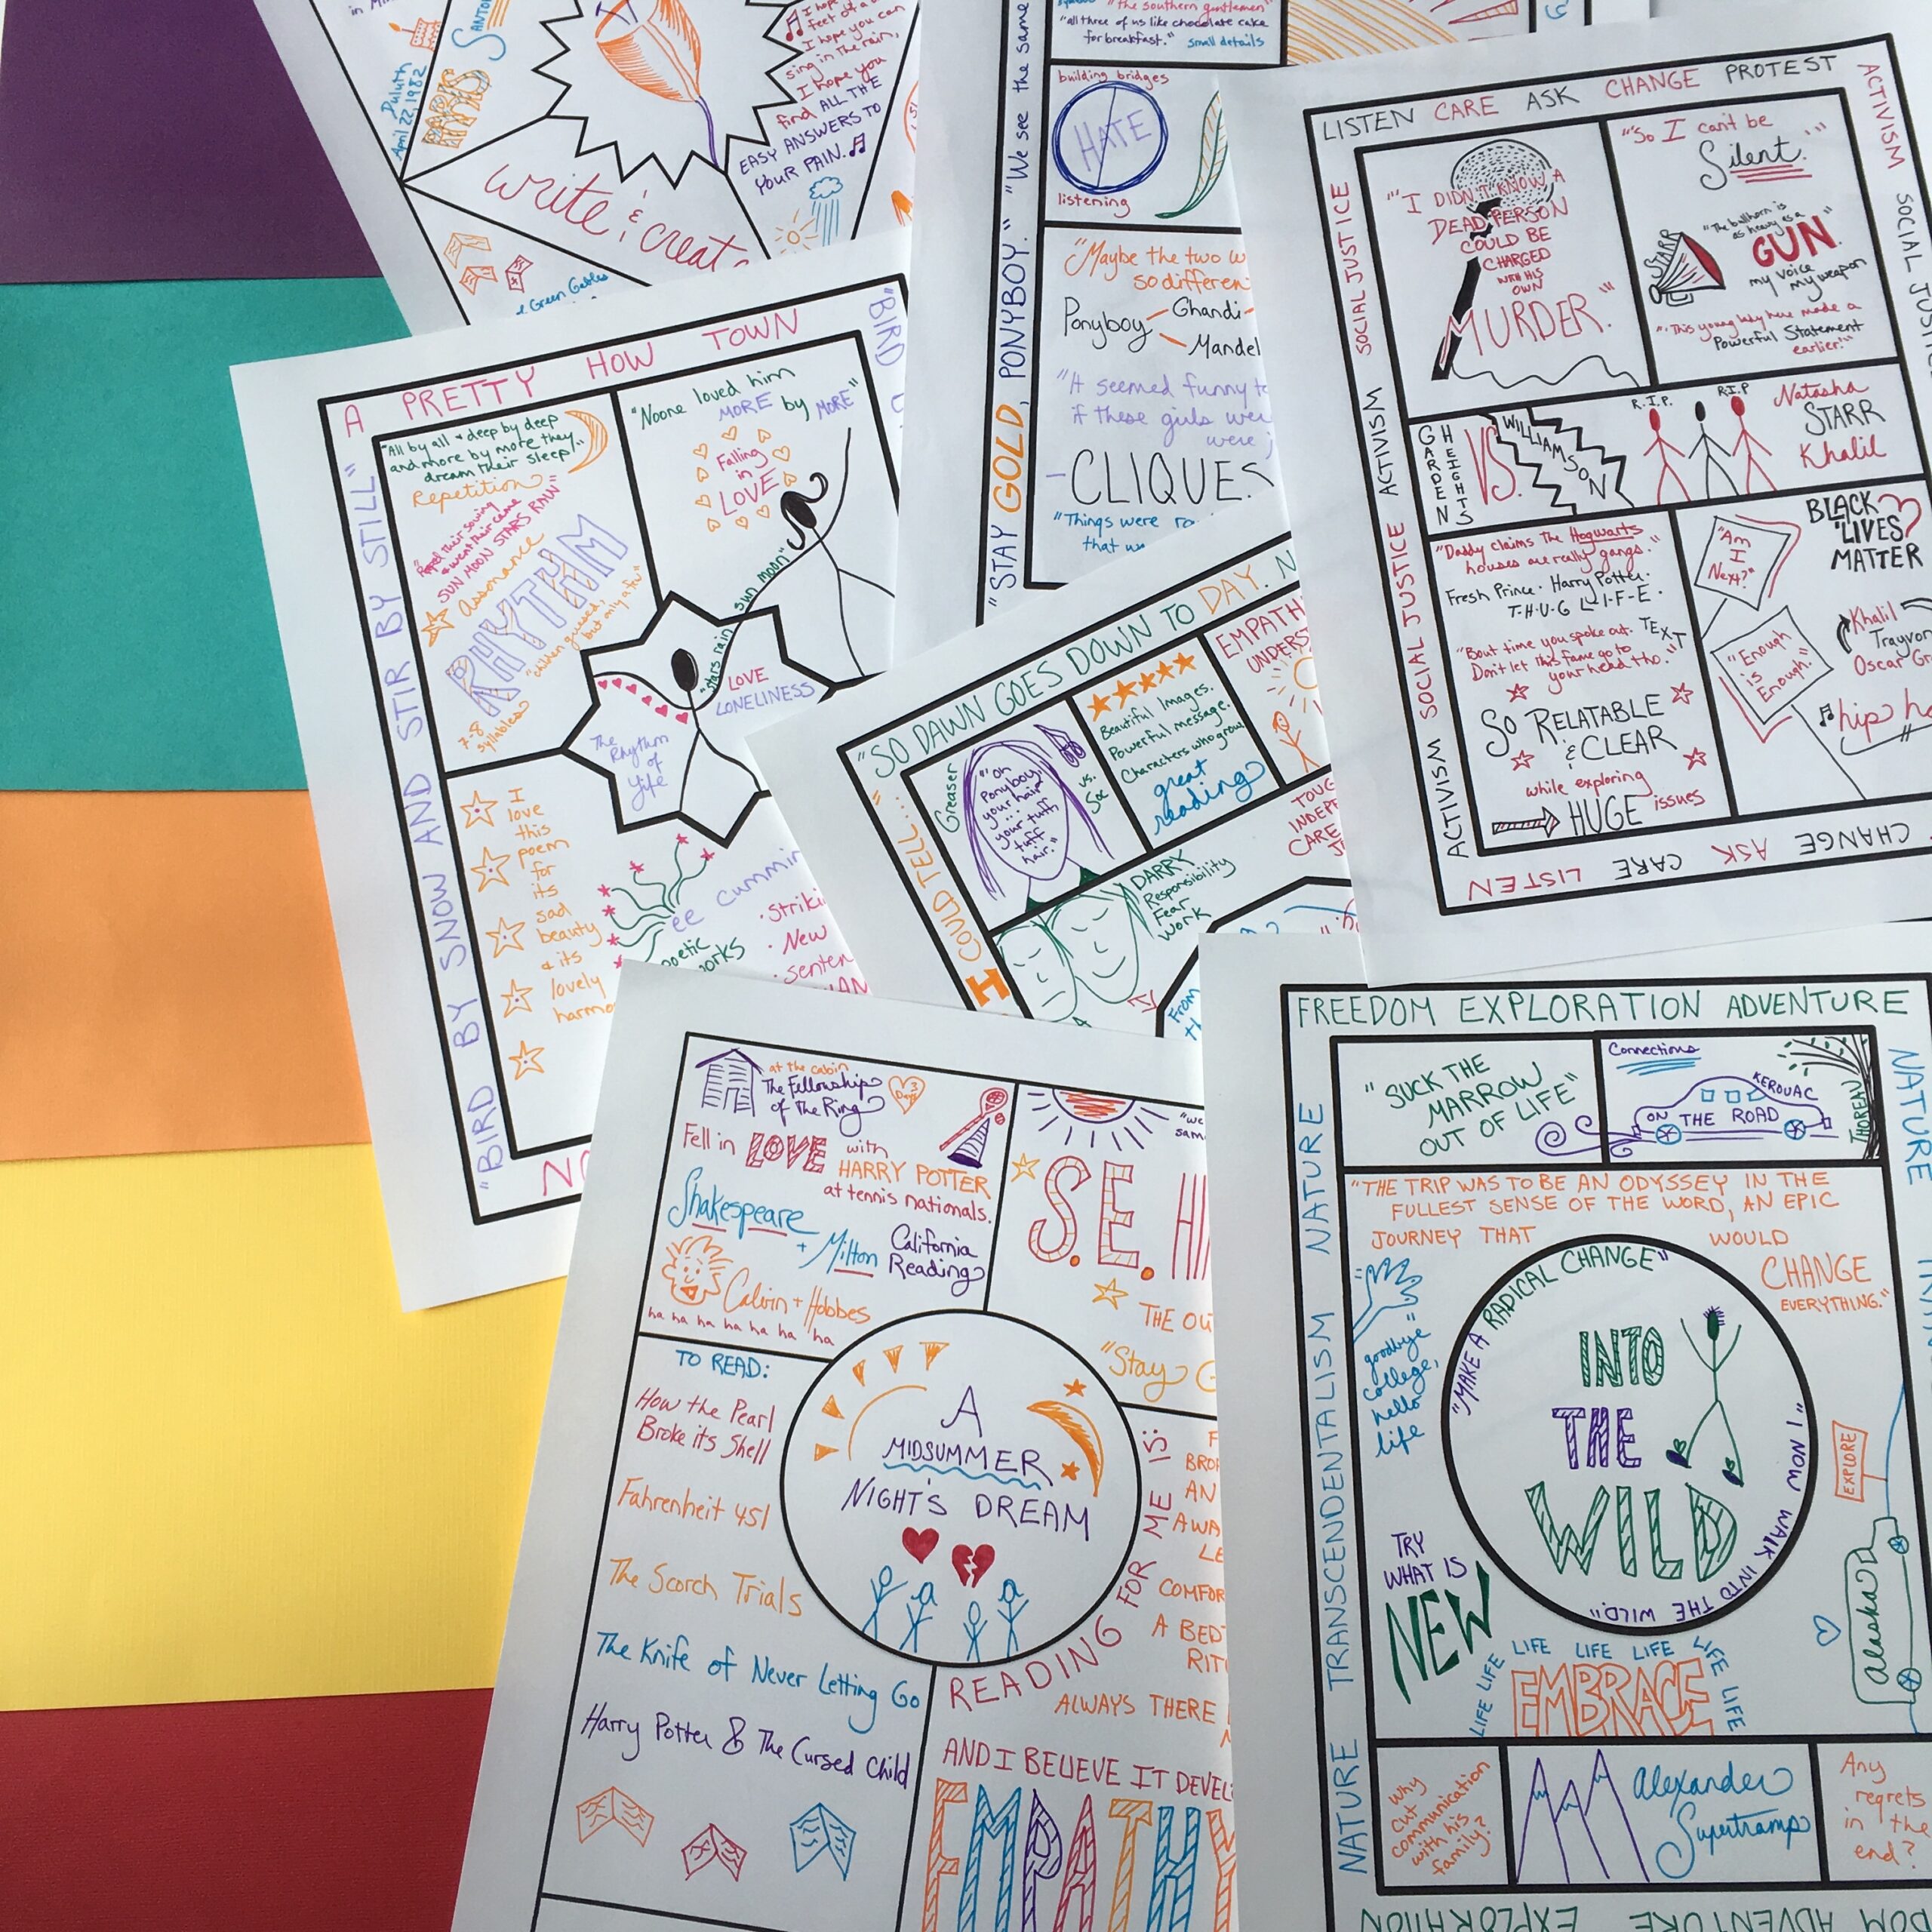
Differentiation can make such a big difference in the academic lives of our students. I remember when I first learned about it, browsing the Education shelves at my local bookstore. I pulled out a thick, dull-looking tome with a long dull-looking title. But as I scanned it, it was clear that if I could cut through the hundreds of pages of research, there was a lot that I could apply right straight into pretty much every aspect of my curriculum. So I bought it.
Though I believe it is in my storage unit somewhere full of highlighting and bookmarks, the basic gist is all I really remember. Students work differently. Students learn differently. There is no reason every student has to do everything the same way.
What a freeing concept! From the moment I grasped what differentiation was, I began to build it into my teaching. Today I want to show you three easy ways to build it into yours.
#1: The Activity Menu
One easy way you can differentiate in class is to use an activity menu. These can take many forms.
One option is to create a bingo card with activities related to your reading in a series of columns. You might create one column of writing activities, one of artistic activities, one of interdisciplinary activities, and one of social-media inspired activities. Then ask students to complete one activity from each column, earning a bingo. This way they are pushed to try a variety of different things (writers cannot ONLY write, etc.) but they can choose the ones they like the best. Another fun form of menu you can use is a tic-tac-toe board. I try to come up with nine interesting activities, and let students choose three to finish a tic-tac-toe.
You could also embrace the “Activity Menu” concept fully and actually make a menu for your students. Start with an appetizer list – short starter activities they can choose from. Then create a list for the main course – longer, more in-depth “meaty” activities. Provide a vegetarian option, of course. Then create some fun dessert prompts to choose from.
Whether you try a bingo card, tic-tac-toe board, or activity menu, the main thing is to try to sprinkle in varied activities. You want students to have a chance to choose activities they are really interested in, working with their own strengths but also being pushed to grow in areas of weakness.
This is a key point. If you use differentiation to always let students work in their most comfortable ways, they may not grow much. So try to structure differentiated activities so that students won’t ONLY focus on their strengths, but also expand into other areas.
Remind them of this out loud too. When you pass out an assignment, you can say something along the lines of “remember to choose an activity or two that helps you to work on areas you would like to improve, as well as activities that play to your strengths.”
#2: Work Partners
Another way to easily differentiate throughout the year is by giving tons of opportunities for choice when it comes to group work vs. solo or partner work. It’s so easy to offer this choice, and it makes such a difference to students.
Just incorporate statements like these as you pass out activities and prompts:
“Reflect on the prompt in writing on your own or turn to a partner and discuss, taking notes on your observations.”
“Find a small group to work with or find a partner, whatever works best for you”
“You may complete this activity alone or with one or two other people. Everyone must fill out the handout for credit.”
“As you work through the activities, choose at least one to do with a partner. You may work with a partner for up to three.”
As with choosing activities, try to help students remember to expand their horizons. “Remember that being able to work effectively in groups AND on your own is pretty vital to you. If you’ve been focusing on one or the other, try changing it up today.”
#3: Projects with Choice
Finally, you can easily add differentiation into final projects. Giving a slate of options will help you engage more students. It’ll also create a more interesting final project showcase, if you give students the opportunity to display or present back on their work. You can even create a “design-your-own” final option, pending approval by you.
When I do this, I almost always include a core written component. In other words, though the project options may vary widely, each one will be accompanied by a one page (or two or three) written paper explaining the project and it’s relationship to the text. This way everyone works in an area of interest, improves their writing, and can be graded based on a general rubric that applies to each type of project. (That general rubric is a lifesaver!)
Do you find your inspiration in VISUALS? I love ‘em too. Let’s hang out on Instagram! Click here to get a steady stream of colorful ideas all week long.


