There’s nothing like raising a pair of young children to give you perspective on the primary world.
There’s a lot that primary teachers do SO WELL, and I think we could adapt some of their beautiful design and decor for our secondary classrooms. My crash courses in Montessori and Reggio Emilia, play-based learning and interactive learning spaces, have all led me to believe that there is a great deal to be said for a beautiful environment, documentation of process, artistic and interactive elements sprinkled liberally throughout anything and everything.
I look at my little ones and I ask myself, will a point come in their future when I WON’T want them to be surrounded by natural light, art, books, beauty? Will they just suddenly cease to need creative spaces?
I don’t think so.
I still remember asking a teacher I shared a room with in my first year if it was OK if I decorated the walls. “Sure,” he said. “I’m not really into that.” He was a great teacher, a great role model for the kids. I added a few flourishes, a plant, some costumes and books. I took the old outdated textbooks off the bookshelves and hid them away somewhere.
If you’re like me, you’re always searching for great posters, book display ideas, bulletin board inspiration. You sometimes invent activities and projects on purpose to make great wall displays.
If you’re more like my friend and colleague, you tend to focus on the content of your course, and the environment is an afterthought.
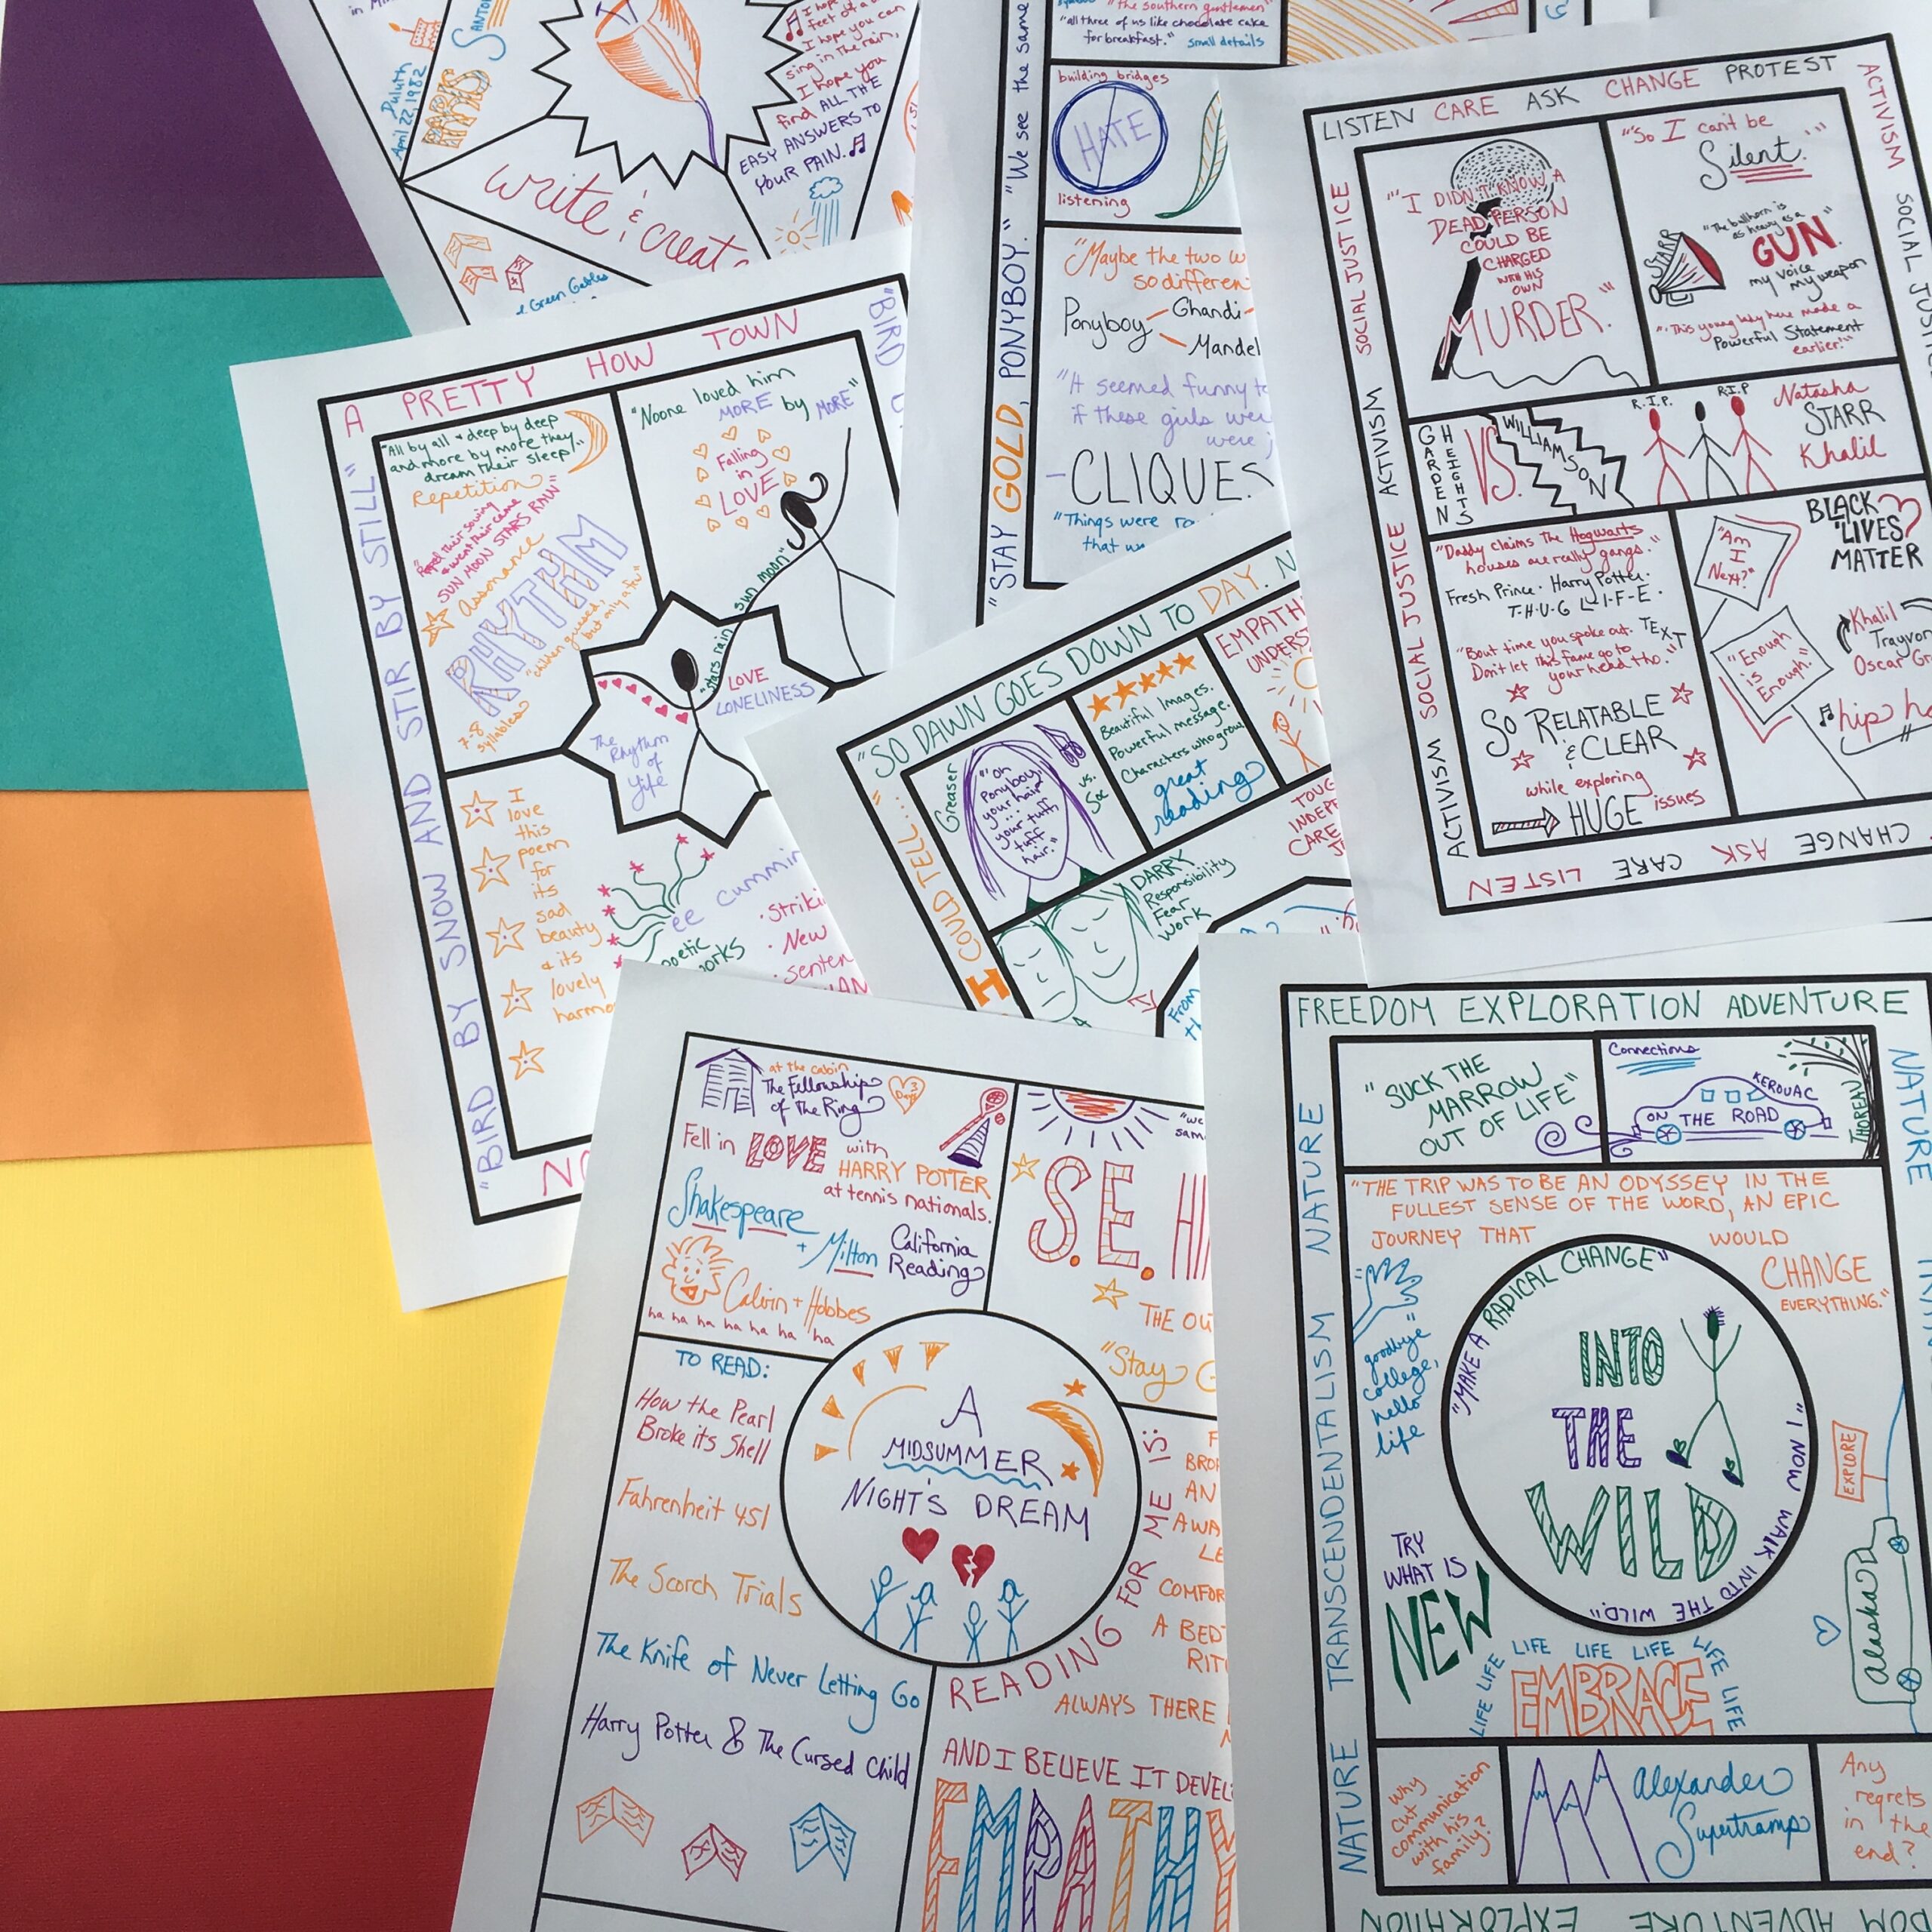
Regardless of which camp you fall in, this just might be the year for you to create a fun, interactive door with which to welcome your students. Hop on board the adult coloring book craze and make a coloring book door.

All it takes is a coloring book (which you probably already have) and forty-five minutes.
I made mine this month and it couldn’t be easier. Someone even already started coloring on it though the year hasn’t begun.
Here are the simple steps you can follow to make one of your own.
1. Color one or two pages in the book to set the example.
2. Open the book and press down the pages several times to flatten it as much as possible.
3. Placing your hand firmly on the left page of an open fold, tear out the right page. Continue to tear out right pages until you tear them all out.
4. Trim any egregiously ripped edges. You don’t have to cut straight lines on all of them.
5. Add tape rolls to the back of a page and start in the upper corner. Tape the pages onto the door in rows, moving from left to right.
6. If your pages don’t fill the whole door, stack a few sheets of colored paper and cut across one side to make a border. Tape on the border along the edge where some door is still showing.
7. Either hang a basket of colored pencils, put some on a small shelf or table nearby, or get some ready for students to use during whatever moments you choose.
See what you have by the end of the year! I can’t wait to see what mine looks like in May.
Did you know you can learn about all your wish list ELA strategies on your daily commute or walk with The Spark Creativity Teacher Podcast? Explore one-pagers, escape rooms, sketchnotes, creative annotation options, research projects, poetry workshops, and much more through over a hundred quick episodes waiting for you on your favorite podcast player!


One Comment
Great Article
Artificial Intelligence Projects
Project Center in Chennai
JavaScript Training in Chennai
JavaScript Training in Chennai