So you’ve heard about escape rooms, but you don’t have 73 hours to spare? I hear you! Today we’re diving into how to create basic-but-creative escape rooms using two tools, Canva and Google slides. After lots of research and journeys down more than a few rabbit holes, I’m confident in saying this is the easiest way to experiment with this fun pedagogy. Once you master the Google slides escape room, if you want to take things in a more complicated direction you can, but I think you’re going to love this option just as it is.
You can listen in on the podcast player below (or on any podcast player), or read on for the step by step instructions and video tutorials.
Define what you want to Teach with your Escape Room
First things first, when it comes to an escape room, you need a topic and content to share with students. What do you want to teach? Take a few minutes to jot down your content, and any texts, podcasts, videos, images, articles, or activities that you’d like to have go with it.
So, for example, let’s say I wanted to introduce Shakespeare and Elizabethan England.
I’d like students to visit an interactive timeline of Shakespeare’s life and explore it, watch a video about the Globe Theater from the Globe website, listen to audio clips from two plays, experiment with Shakespearean insults, and read an article about Shakespeare’s relevance in the world today. These different components will become the main pillars of my escape room.
Design your Room in Canva
Once you have a sense of what you want student to do and learn in the room, you can design the room itself. You can even design quite a general room, with clues in it that could go to any types of content, and use it for the room you’re designing AND for others.
For example, a phone, computer, or pair of headphones could go to any online resource. A window could lead to images of any location in the world. A paper on a table could lead to any article. You get the idea!
So let’s take a look at how to design a cohesive, attractive escape room inside my favorite digital design tool, Canva. Teachers can sign up for free educator accounts, so if you don’t have one already – run, don’t walk! (By the way, feel free to watch the how-to videos at 1.5 speed if you want to hurry them up).
Pretty easy, right? Even a bit fun? I think so, but then obviously I love stuff like this!
Link Objects in your Room to Clues with Transparent Shapes
Now you’ve got a room that can easily connect to the content you’ve been brainstorming. So let’s marry the two. In this next video, I’ll show you how to connect your room to all the content you want to cover – which we’ll now be referred to as your clues.
That wasn’t so hard! Now you know how to design your room, link to external clues and internal clue slides, add the “go back” button, and send your students the link in present mode so the magic of the room is maintained.
Here’s that “Go Back” button, by the way, so you don’t need to design it yourself. Just download it from here or screenshot it.

OK, you’re almost done! Now’s where you create the overlay that really makes this feel like an escape room to your students.
Add a Frame Story
Start with the story – what are they doing in this room? Why do they need to escape? You’re going to want to tell them this story when they arrive to class, or write it on the board.
Here’s an example. “Walking home from school one day, you notice a small red door in an alley you’ve never noticed before. Looking more closely, you see it has your name on it. Curious, you twist the knob and it opens. You step through the door and look around at a beautiful sunlit office. But then you hear the door shut behind you, and a lock click. You can’t get out. What’s going on?! You begin to look around this strange place, hoping to find a key or some clue as to what you’re doing here.”
Your story can be anything that introduces students to the idea that they’re in an escape room.
Add Locks that Check for Understanding
Once you’ve got your story, your room, and your clues, it’s time to create your “locks.” At first, these can be quite straightforward. Choose questions that relate to your clues, that students would have had to go through your content to answer. For example, ask them the year Shakespeare wrote his first play, the answer to which would be found in the interactive timeline. Or, add a layer of fun escapiness (yes, I just made up that word) by creating a more coded version of the same question. Still looking for the same answer, you could scramble the numbers of the year he wrote his first play and scramble the letters of the first play title. So the answer you’re looking for is: 1590 HENRY VI PART I. The clue is: William’s big debut 0519 IV YENRH I TRPA. See what I did there? Either way, students need to explore the interactive timeline and figure out when Shakespeare was first writing and what he was working on.
For this simplest version of an escape room, I suggest you simply print your “locks” on paper for your students. Could you create something more elaborate using Google forms? For sure, and I’ll show you how later this month. But a paper version is easy, and it gives you a chance to interact with your students and give them hints if they’re struggling with certain locks.

Pull it all Together with Final Certificates
OK, you’re almost there! Take a few more minutes to create a fun certificate for students to earn when they successfully break out, and maybe pick up some candy or silly stickers (high school students DO love stickers, at least in my experience) to go with it.
Here’s an example from the Poe escape room I created last month:

OK, my friend, you’re ready! You’ve got your frame story, your room, your clues, your locks, and your certificates. Now you’re just adding fun.
It’s Showtime!
On the big day, you might want to turn out the lights in your room, play some dramatic music, and project an image that relates to your room up on your projector. Have your certificates and prizes hidden away, ready to reveal when the time comes. When students come in, share your story and the link to your room in present mode, and give everyone their locks to work on. Kids can work alone or in partners or groups (you might want to assign these, depending on your dynamics). As they complete all the locks, they’ll check in with you and if they’re correct, earn their breakout certificates. For a room like a Shakespeare introduction, you can then pass out the texts with the certificates, and have them start reading as others finish the room (it’s always a good idea to have a plan for early finishers!).
Enjoy!
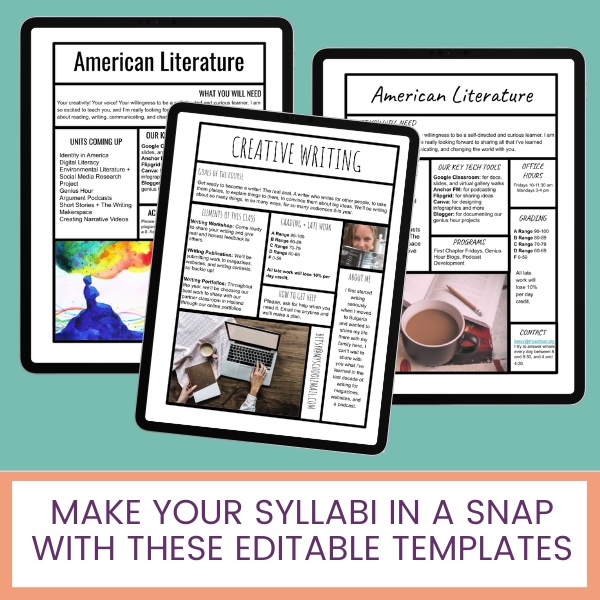
By the way, have you explored my free resources page? It’s got one-pager templates, a hexagonal thinking kit, blackout poetry resources, syllabus templates, and much more! Go do some (free) shopping for your next lesson plan right here.